
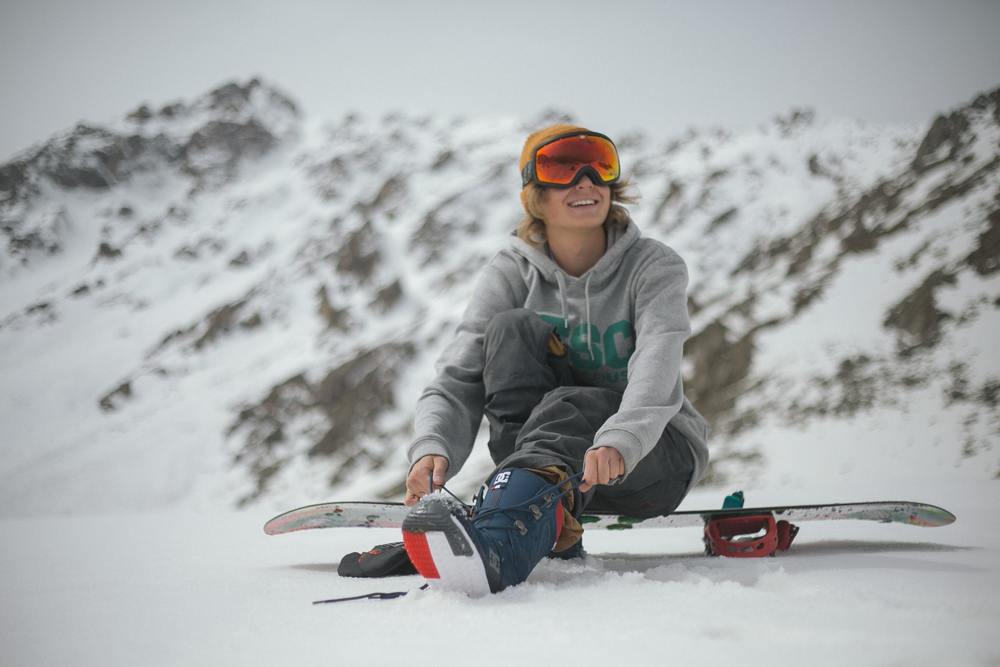
Snowboard bindings are an essential part of your gear as a snowboarder.
Though you may not have heard as much about them as other pieces of equipment – such as snowboarding boots or the snowboard itself, it’s vital to invest in the right kind of snowboard binding – one that best fits your body type and riding style!
From flow snowboard bindings to strap bindings, you have many options to choose from. But what kind of riding style calls for one type of binding over the other? And how do you choose the best snowboard bindings for you?
Here we lay out everything you need to know about both flow bindings and strap bindings, including both their positive and negative qualities, so that you can make the best decision for yourself.
Contents
What Are Flow Bindings?
The “flow” variety are a type of rear entry bindings, also known as “speed entry bindings.”
They are still a bit less common than strap bindings but are nonetheless becoming increasingly common and popular for their unique advantages.
Most flow bindings only have one strap: a combination ankle-toe strap that covers the entire front of the foot.
Sometimes the flow binding will appear to have two straps when it actually has only one, because the strap may have two distinct portions – one over the ankle and one over the toe.
Generally, you will be able to adjust these separate portions independently of each other, in case your toe and ankle need different levels of tightness for comfort and security.
However, any adjustment that you make to the toe strap will have an effect on the tightness of the ankle strap. Likewise, any adjustment that you make to the ankle strap will somewhat alter the snugness of the toe strap.
Some flow bindings have completely independent toe and heel straps, but this is an uncommon feature.
The high-back of your flow bindings operates a bit like a draw bridge. The back can be completely unlocked, allowing it to swing backwards until it is almost completely horizontal.
This creates a large open space that you can use to easily get your boots in and out of the bindings.
To get into your flow bindings, all that’s necessary is to unlock the high-back and open it up all the way, so that you can place your boot inside the strap. Then you just have to close the high-back again over the back of your boot, and then lock it into place.
This is easy to do while standing up, making flow bindings an ideal fit for you if you want to strap in while on the move. Some newer flow bindings also have an additional system in which the strap lifts up as the high-back swings open; this makes it even easier to get your boot in and out.
Flow Snowboard Binding Pros
The biggest pro to flow bindings is how quick and easy it is to strap into them with their drawbridge-like high-backs that you can completely unlock.
With practice, you can even strap into your snowboard bindings right as you come down off of a ski lift, saving time better spent on the slopes! Because you can strap in your flow bindings while standing up, you do not have to sit down in the snow, allowing you to avoid getting the seat of your pants wet.
Another perk of flow bindings is that you only need to adjust the straps once, at the start of the day. After that, you will be set for the rest of the day, with no need to re-adjust, even if you take your boots in and out of the bindings multiple times throughout your trip.
Cons of Flow Snowboard Bindings
Flow bindings are meant to be more easily put on while standing up. However, this means that it is actually more difficult to strap into these snowboard bindings while sitting down – which is sometimes necessary if you are boarding on a particularly steep slope.
Additionally, you cannot independently adjust the amount of pressure on your toe and ankle on most flow bindings if you need to, because their straps are connected together.
Also, it can take a little longer to master how to set up flow bindings than other types of bindings when you’re first starting out as a snowboarder. Finally, they tend to be more expensive than strap bindings, so flow bindings might not be a great beginner’s set – especially if you’re just testing out the sport.
Another con to flow bindings is that they can make recovery difficult after a crash or fall. If you ride into a powdery snow bank, and there is snow jammed up against the high-back, you may not be able to open the high-back and get your boots out of the binding.
Also, if you end up falling and sliding down a hill on your back, you may accidentally trigger the unlocking mechanism for the flow bindings, which will cause the board to go flying off of your feet! That’s, of course, a hazard to you and your board.
This video shows an example of how to set up flow snowboard bindings.
What are Strap Snowboard Bindings?
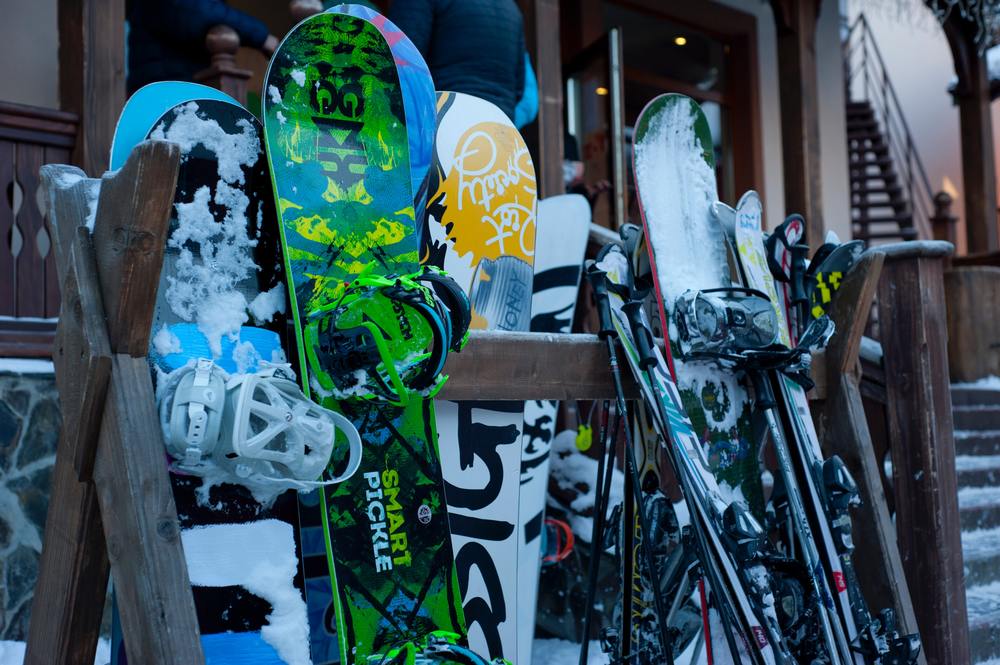
The strap bindings, also referred to as “strap-in bindings,” are the most common type you will see both in shops and in use on the slopes.
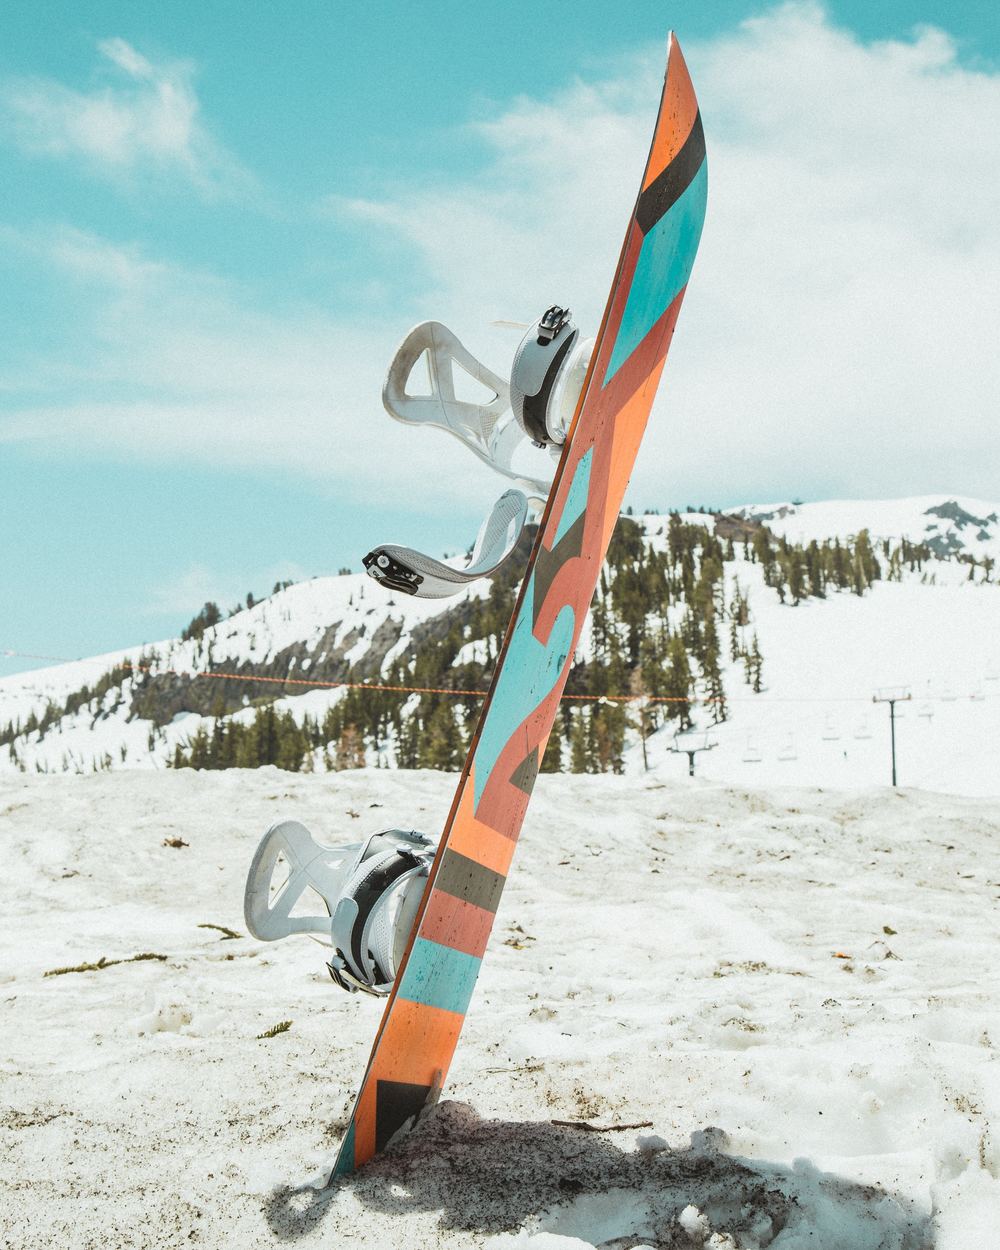
Strap bindings have two separate straps: an ankle strap higher up on the foot, and a toe strap lower down on the foot. As you might expect from their names, the ankle strap goes across your ankle, and the toe strap either sits on top of your boot’s toe or is wrapped around the front of your boot.
Strap bindings also have a fixed high-back, which means that the back stays in one place, though you can somewhat adjust the angle of the high-back to either lean more forward or be more upright. This mainly depends on your comfort and the angle of the slope.
In order to get in and out of your strap bindings, you need to undo both of the straps. This will allow your boots to enter or exit the bindings easily.
Most people just starting out with strap bindings may need to sit down in order to put them on or take them off. However, with practice, you can learn how to do so from a standing position instead, saving time.
Pros of Strap Bindings
The two independent straps of your bindings mean that you can adjust the pressure of each strap, which may be necessary if your ankle requires a different tightness than your toe.
It is also easier to use strap bindings while sitting down, so if you plan to go over the steeper slopes, where you need to sit down at the top, this variety is ideal.
Because strap bindings are more common, they also tend to be cheaper, which is more appealing to beginners testing out the sport.
Also, while strap bindings may take longer to put on and take off again under regular conditions, they are far more reliable during a fall or a crash.
For example, they’re unlikely to just fly off your feet while you slide down a hill, and if you get stuck in a snowbank, they’re much easier to escape in a rush!

Strap Binding Cons
The biggest con to strap bindings is that they take longer to put on and take off. Unlike flow bindings, you’re required to sit down while adjusting or equipping them – unless you have more experience.
You also cannot open the high-back of a strap binding like you can for a flow binding.
Finally, the straps can jam fairly easily when snow and ice block the mechanisms, and each time you put on this style of binding, you have to re-adjust the straps.
How to Mount Snowboard Bindings
Occasionally, you can get someone at a ski shop or another professional on the slopes to mount your bindings to the snowboard for you.
However, even if that is your plan, it’s useful to know how to mount your own bindings, just in case they loosen up over time.
Loose bindings mean that you will not be able to turn as easily or smoothly, which can frustrate you or lead to a crash!
How to Mount Flow Bindings
First, check whether or not you have bindings that match your snowboard. Some brands of bindings and boards have different kinds of hole patterns for mounting – and a binding with a 3×3 hole will not fit with a snowboard with a 4×4 design.
If the hole patterns do not match up, you may need to use a special angle plate, which will help you match up incompatible hole patterns. However, it’ll be an added expense.
When you are ready to mount your flow bindings, lay your snowboard on a flat surface. Then, if you need an angle plate, lay the plate into the baseplate of the first foot binding at a zero degree angle.
There will be an arrow on the baseplate to indicate the angle. Align the holes of the angle plate, or of the binding itself, with the mounting holes on the snowboard.
Be sure to orient the binding and snowboard so that the long line on the angle plate rests perpendicularly to the sides of the snowboard.
Next, with an appropriate screwdriver, screw four screws through the holes in the binding or angle plate. The screws need to go all the way through the angle plate and binding, and into the snowboard itself.
Then do the same for the second-foot binding. If using an angle plate, this time, make sure that the binding’s baseplate is at a fifteen-degree angle to the angle plate. Then align the holes and insert the screws, just like you did for the first foot binding.
All that’s left is to place the boots onto the base plates – the right boot on the right side and the left boot on the left – and place the buckles onto the straps of the bindings.
Close the buckles over the boots, and you will be ready to ride!
Mounting Strap Bindings
The process for mounting strap bindings to your snowboard is very similar to the process of mounting flow bindings. Again, check whether you will need an angle plate in order to match two unmatched sets of hole patterns.
Place the bindings on the board, setting them at appropriate angles, and screw them into place until they are tightly secured.
The difference for strap bindings is that, after you screw the bindings to the snowboard, you then need to adjust the forward lean on the high-back.
This will vary depending on your personal preference and physical comfort, but forward leans of between ten and fifteen degrees are most common for snowboarders.
What you want is an angle that is both comfortable for your knees and allows you to bend your legs enough to maintain your balance. Then, all you have to do is strap in your boots and go snowboarding!
This video shows more information on how to mount snowboard bindings.
How to Choose the Best Snowboard Bindings for You
There are numerous different types and brands of snowboard bindings out there. Because snowboard bindings are such an important part of your experience, you want to make an informed decision when you choosing your brand.
Which binding you choose should depend on both the kind of board you’re using and your riding style. And, of course, you want snowboard bindings that suit your feet!
If you have a need for speed and don’t want to re-adjust the straps of your bindings every time you put them on or take them off in a day, then flow bindings are the right choice for you.
They provide easier access and quick releases, all from a standing position. However, if you are a beginner to snowboarding and want a set of bindings that will not fall off of your feet or get you stuck in a snowbank, then you may want to choose strap bindings instead.
In either case, feel free to adjust them as needed for your comfort!
Now you’re ready to choose the best snowboard bindings for you, and head out and hit the slopes!
What’s your preferred type of snowboard bindings?


