
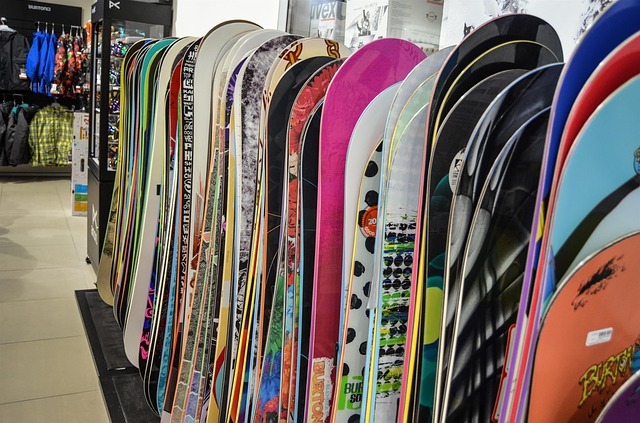
Understanding how to properly wax a snowboard is essential for anyone interest in taking up the sport, either as a hobby or for more professional means.
It is essentially the same as waxing a pair of skis, and just as necessary in order to ensure that, over the course of a ride, snowboarding is easier, faster, and smoother.

You will want to consider a few factors prior to undergoing the actual process of waxing your snowboard; the type of wax you use, as well as the iron, can impact the quality of your ride.
From there, though, it’s relatively simple. If you are wondering how to go about this task, don’t worry! We have you covered.
Contents
Kinds of Wax
The kind of wax you will need in order to wax your snowboard depends on the kind of snowboarding you intend to do, as well as the weather and the slopes you will be taking on.
There are two kinds of wax that you can use on your snowboard.
All-Temperature
All-temperature wax is, as it says, a general kind; it allows snowboarders of all degrees of skill to give their boards the kind of tender loving care that they deserve.
All-temperature wax quickens your ride and fills in any scratches your board may have earned, and it isn’t impacted by a variation in temperature or environment.
This kind of stability makes all-temperature wax best for snowboarding in variable temperatures; if the season is coming to an end, for example, you will want to make sure you are using the kind of wax that can hold up to versatility in snowfall and weather conditions.
Temperature Specific
Temperature specific waxes are, naturally, temperature specific, meaning that certain waxes will function best in specific kinds of weather.
This sort of wax tends to list preferred temperatures on their labels. They are meant to respond to differing snow conditions and combat either increased dry friction or any of the oils present in man-made snow.
Again: most of the waxes that work on snowboards also work well on skis.
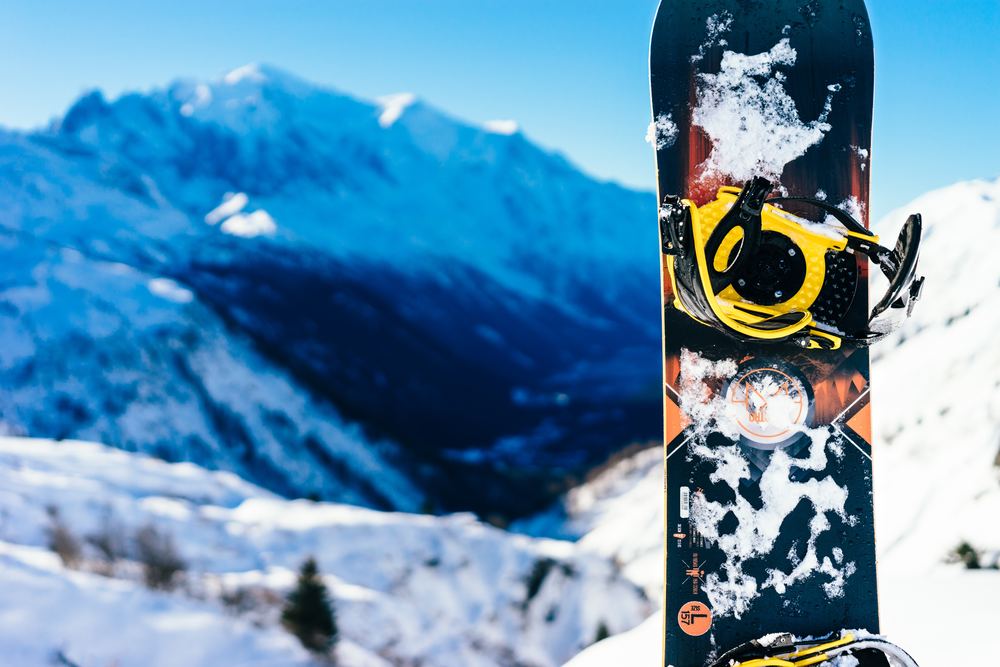
How to Wax a Snowboard with Irons
Once you have obtained your wax, you will need to choose the best iron to press it onto your board with.
Snowboarding irons and ski irons are exactly the same; these are sold by a variety of vendors, and they can be as technologically advanced or as straightforward to use as you prefer.
The more specific irons, such as the Swix Digital Ski Wax Snowboard Waxing Iron, ensure that the temperatures to which you expose your wax remain within specific ranges.
Comparatively, you can choose to use a regular clothing iron to melt wax onto your snowboard.
The narrow range of temperatures that the more specialized irons stick between do allow for an improved margin of control over the course of a waxing session, but using a standard iron does save you a bit of money – that is, so long as you use it properly.
Keep a close eye on the temperature of your iron, and make sure, if you do use a standard iron that it’s older – you don’t want to use a brand new iron on your snowboard and then, the next time you iron a shirt, smear wax all over your fresh linens.
How to Wax a Snowboard
Having gathered the appropriate materials, you’ll be ready to take on the process of waxing your snowboard.
Ensure that, along with your preferred wax and iron, you have a plastic wax scraper and a scraper brush ready to use.
Step 1: Clean and Secure
Before you apply wax to your snowboard, make sure that you clean it of any debris. Once you’ve finished this, secure your snowboard to a sturdy surface to avoid any shifting during the process.
Step 2: Base Work
Prepare for the heating process by warming the wax until it is no longer solid. Place a reasonable amount of this warmed wax onto the base of the snowboard and iron it in.
Keep the iron moving during this process; holding it in place for too long puts your board at risk of damage.
Step 3: The Rest
Once you’ve prepped the base, drip more wax onto the rest of the snowboard and move the iron down the length at a steady pace, and only where the wax has already been placed.
Continue this process until the length of the board has been covered.
Step 4: Cool
Let the warm wax cool and fill in any damaged spots on the bottom of your board.
Don’t attempt to move on to the next step until the wax has cooled completely, or else you risk burning your hands.
Step 5: Scrape
Once the board is safe to touch, retrieve your plastic scraper and scrape down the freshly waxed board, removing the bulk of the wax as you do.
It may seem odd to remove this mass, but in order for it to work most effectively, you want the layer of wax on your board to be thin.
Step 6: Brush
Once your board has been effectively scraped, use your structure brush in order to smooth out any invisible imperfections in the wax.
Step 7 (Optional): Reapply
You have the option, after completing these steps, to reapply a secondary layer of wax.
If you choose to do so, skip brushing down your board after the initial layer of wax has cooled; instead, stick to scraping your board down, then apply the second layer of wax.
Here’s a video showing more details on how to wax a snowboard.
How often should you wax your snowboard, though? Keep in mind the kind of wear you’ve been exposing your board to.
There is no such thing as overwaxing; however, consistent and careful waxing will make your snowboarding experience all the more safe and entertaining.
Do you have any tips on how to wax a snowboard?


