
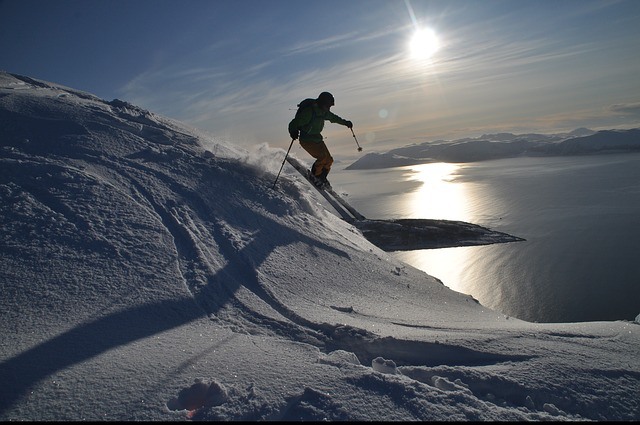
Learning how to wax skis is essential for anyone who owns them.
Ski wax ensures that over the course of a ride, skiing is easier, faster, and smoother, regardless of whether or not the skier in question is cross-country skiing, racing, or skiing downhill.
There are a few factors to consider when first waxing a set of skis, including the type of wax you’ll want to use as well as the ski iron you’ll want available to you.
Overall, however, the process of waxing your skis is straightforward, just as is outlined here.
Contents
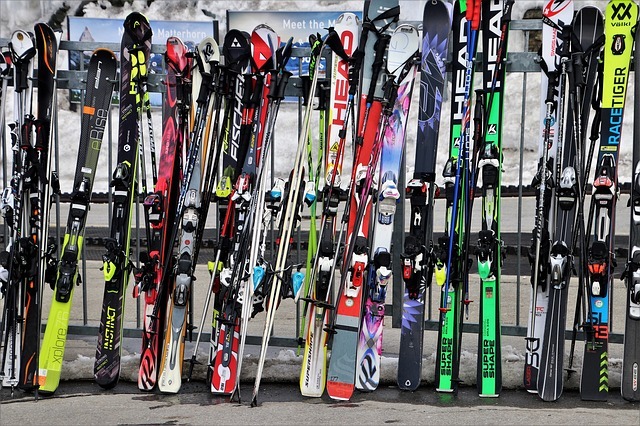
Types of Ski Wax
The kind of wax you need for your skis will vary based on the weather and environmental conditions you will be encountering when out on the slopes.
All-Temperature
All-temperature wax allows skiers of all levels to treat their skis with care.
This general wax will quicken your ride regardless of the temperature outside, not to mention the water content or condition of the snow you are skiing on.
All-temperature wax is best for occasions that have you skiing at variable temperatures; consider using this kind of wax at the beginning or end of a ski season in order to compensate for the fluctuating temperature, snowfall, and weather.
Ski waxes such as Toko’s all-temp ski wax or Dakine’s high performance, all-temperature wax will ensure that you will not run into any kinks on your ride, regardless of the changing conditions of the environment around you.
Specific Temperature
Temperature specific waxes are, as the label says, temperature specific. Ski waxes typically list on their labels whether or not they are more ideal for warmer temperatures or cooler ones.
Swix’s Warm Weather Race Wax, for example, is best between temperatures of 32 degrees Fahrenheit and 50 degrees Fahrenheit.
Comparatively, the same company produces a Cold Weather Race Wax that functions ideally between 10 degrees Fahrenheit and negative 26 degrees Fahrenheit.
These waxes are meant to respond to differing snow conditions and combat either increased dry friction or any of the oils present in man-made snow.
Ski Irons
Ski irons, which are meant specifically to work on available waxes, will melt the wax of your choice and ensure that your skis are appropriately coated.
These ski irons are sold by a variety of vendors and can be of any variety of technological advancement.
Some irons, such as the Swix Digital Ski Wax Snowboard Waxing Iron, allow you to closely monitor the temperature of your iron in order to ensure that it is at its best while waxing your skis.
Alternatively, regular housing irons can serve as quick-fix ski irons. The narrow range of temperatures that ski irons address ensure that they are the best choice for ski ironing.
If you decide to try and wax your skis with a regular housing iron, then you will need to keep a close eye on the range of temperatures you will be working in.
The convenience might save you money on an iron, but you will not want to damage your skis in the process.
Take care to use an older iron, as well – you don’t want ski wax running off on any of your shirts the next time you deign to use the iron for its intended purpose.
How to Wax Skis
Once you’ve obtained the appropriate materials, you’ll be ready to start the waxing process.
If you’re looking to learn how to wax cross country skis or how to wax freestyle skis, you are in luck; the process is the same, regardless of the type of ski you are looking to use.
Clean and Secure
To begin waxing your skis, ensure that you have cleaned them of any dirt or debris.
Once you’ve finished, secure them on a sturdy surface so they will not shift during the waxing process.
The Base
Begin by heating the wax. You will want to place the warmed wax on the base of the ski and iron it into the material.
Keep the iron moving during this process; never hold it in one place at a time for too long, or you risk damaging your ski.
The Length of the Ski
Drip more warm wax onto the ski as necessary and move the iron down it – only where wax has already been placed – until the length of the ski has been covered.
Cool
Let the wax cool – rest your hands and make sure you haven’t missed any spots on the ski.
Do not attempt to move on to the following step until the wax has cooled entirely.
Scrape
Once you are no longer in danger of accidentally burning yourself on hot wax, retrieve a plastic scraper and scrape down your freshly waxed skis.
It may seem strange to scrape off the bulk of the wax you just applied, but in order for it to work most effectively, you want only a thin layer.
Brush
Once you’ve finished scraping off the excess wax, retrieve a structure brush to smooth out the wax that remains, ensuring that your run across the snow is smooth.
Re-apply
If you’d like, you can repeat the aforementioned steps in order to apply a second coat.
Do not brush your skis down, however, before applying the second coat; instead, scrape off the bulk of the first layer, and then reapply.
Here’s a video explaining more on how how to wax skis.
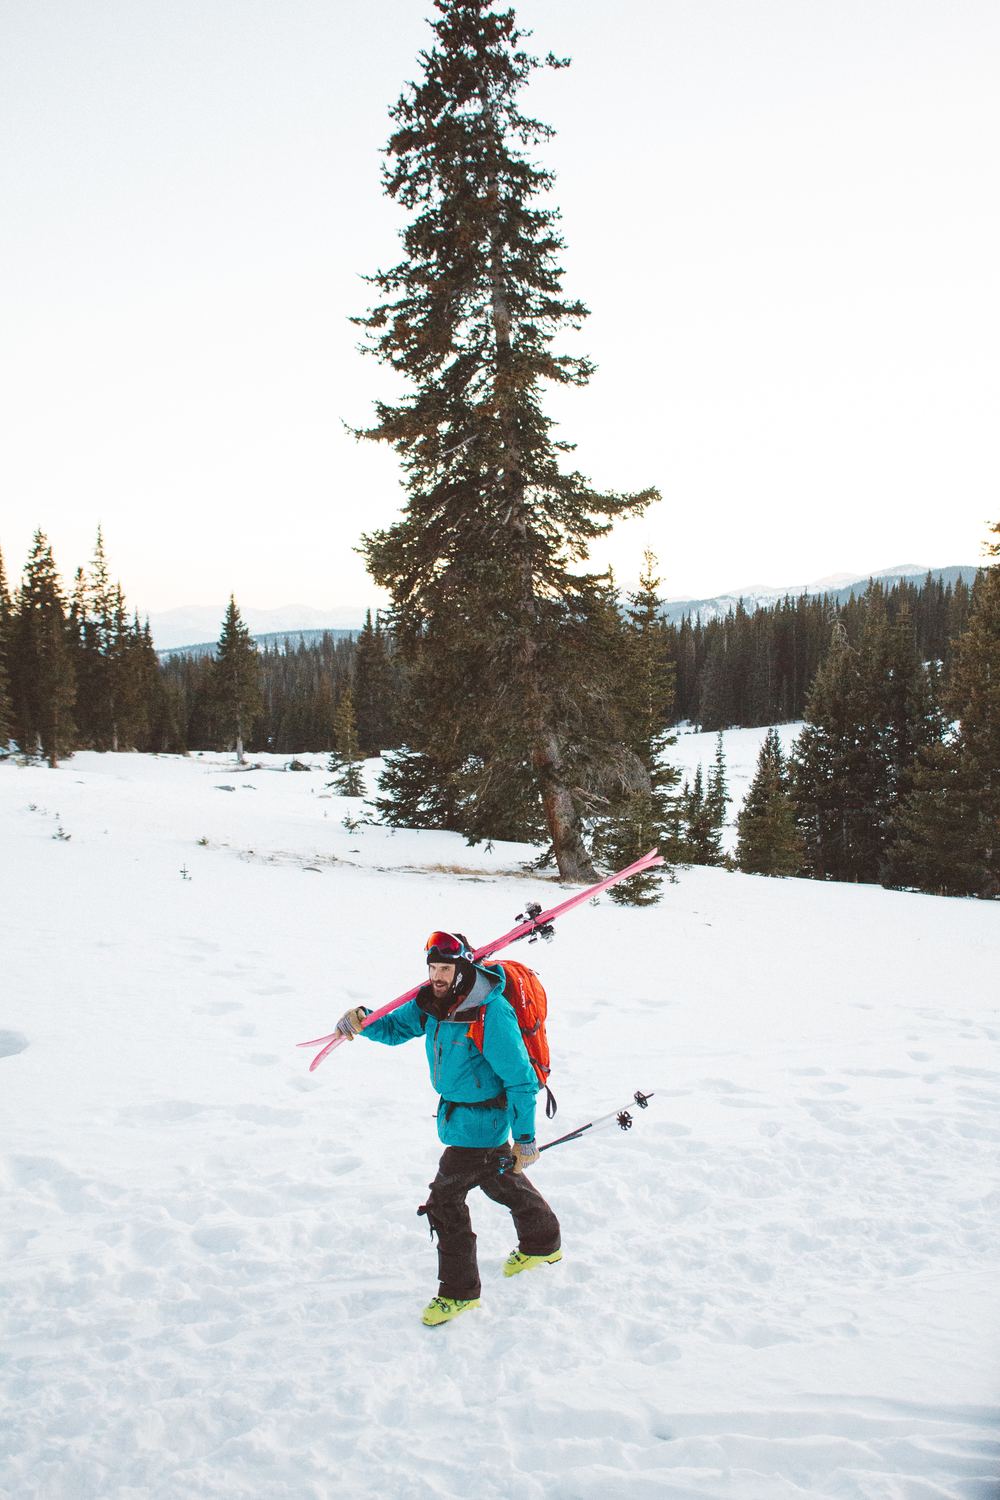
When considering how often to wax skis, keep in mind the kind of wear you’ve been exposing your skis to.
If you’ve been doing intense cross-country or freestyle skiing, or if you’ve been skiing on uneven terrain, reapply wax to keep your ride as smooth as possible.
Waxing your skis will make your experience all the more safe and entertaining. Also make sure you choose the wax that’s best for you, and enjoy a smoother and faster glide down the snowy slopes.
Do you have any extra tips on how to wax skis?


